How To Sight In A Night Vision Scope: Expert Tips & Techniques
Sighting in a night vision scope can be tricky. Precision is key for accuracy.
Night vision scopes are crucial for nighttime hunting and shooting. They let you see clearly in low light. But to use them effectively, you need to sight them in correctly. This process aligns the scope with your firearm for accurate shots.
Whether you’re a beginner or an experienced shooter, understanding how to sight in a night vision scope is essential. This guide will walk you through each step. You’ll learn how to adjust your scope for the best performance. Ready to hit your target every time? Let’s dive in and get started!
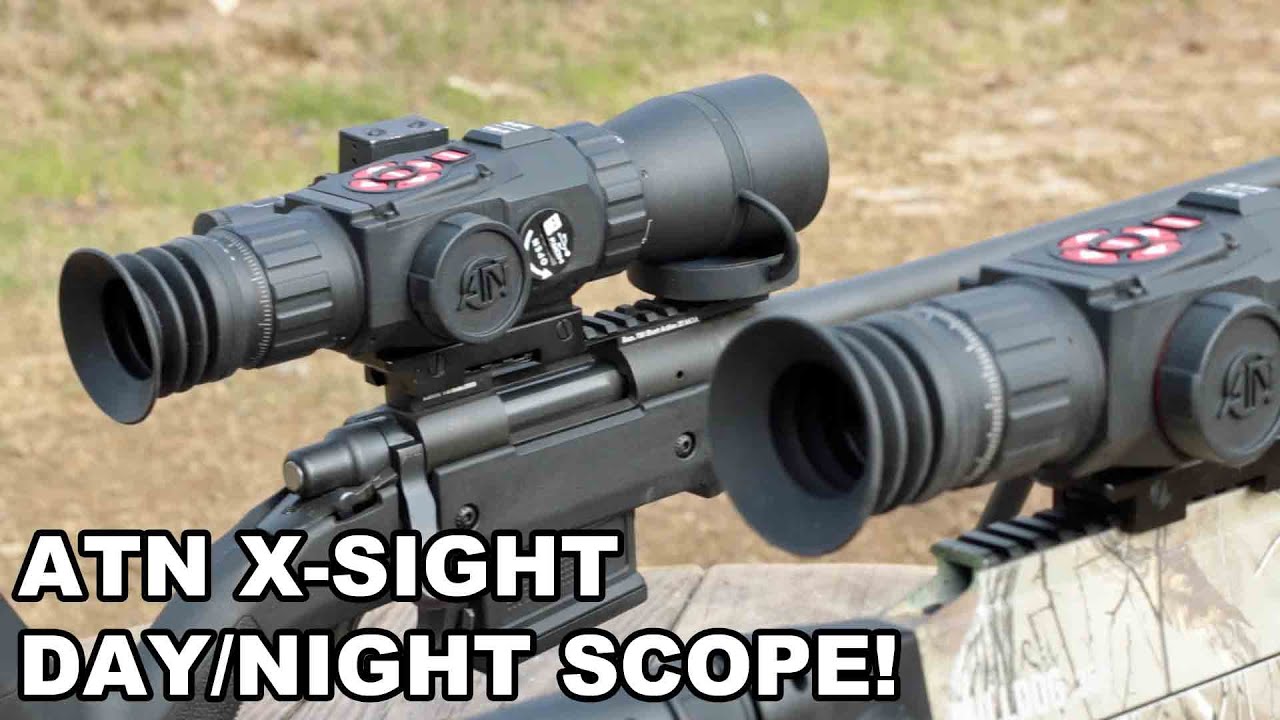
Credit: www.atncorp.com
Choosing The Right Night Vision Scope
Sighting in a night vision scope requires precision. The first step is choosing the right scope. Not all night vision scopes are the same. You need to understand the types and factors to make an informed choice.
Types Of Night Vision Scopes
Night vision scopes come in various types, each suited for different needs.
- Generation 1: Affordable, good for basic use. Suitable for short-range.
- Generation 2: Better resolution, mid-range. Ideal for hunting and surveillance.
- Generation 3: High performance, long-range. Used by professionals.
- Digital: Versatile, can be used day and night. Often includes recording features.
Factors To Consider
When selecting a night vision scope, consider these factors:
| Factor | Description |
|---|---|
| Range | Determine the distance you need to see. |
| Resolution | Higher resolution means clearer images. |
| Durability | Check if it can withstand harsh conditions. |
| Weight | Lighter scopes are easier to handle. |
| Battery Life | Longer battery life is crucial for extended use. |
Choosing the right night vision scope is crucial. Consider the types and factors discussed. Make an informed decision for an effective and enjoyable experience.
Preparing Your Equipment
Preparing your equipment is crucial for successfully sighting in a night vision scope. This ensures accuracy and efficiency during your outdoor adventures. Below are the essential steps to get your gear ready.
Necessary Tools And Accessories
First, gather all the necessary tools and accessories. You’ll need a night vision scope, a rifle, and a stable mount. Use a tripod or a shooting rest for added stability. Also, have a laser bore sighter ready for easy alignment.
Bring along a set of wrenches or screwdrivers. These help with adjustments and securing the scope. Don’t forget extra batteries for your night vision scope. Keeping a flashlight handy is also wise for low-light conditions.
Safety Precautions
Safety is paramount. Always ensure your rifle is unloaded before handling it. Double-check that there is no ammunition in the chamber. Wear protective eyewear to guard against potential hazards.
Set up your equipment in a safe and controlled environment. Ensure there are no obstacles or distractions around. Inform others nearby of your activity to avoid any accidents. Be mindful of your surroundings and stay alert.
Setting Up The Shooting Environment
Setting up the perfect shooting environment is crucial for sighting in a night vision scope. The right conditions help you achieve accuracy and precision. Let’s break down the essentials to create an ideal setting.
Optimal Lighting Conditions
Night vision scopes require specific lighting to function correctly. Too much light can damage the scope, while too little light can make it hard to see.
- Low ambient light: Aim for a setting with minimal artificial light. Street lamps or car headlights can interfere.
- Natural moonlight: Moonlight provides enough illumination for most night vision scopes. A clear night with a half to full moon is ideal.
- Avoid direct light sources: Ensure there are no direct light sources pointing towards your target area.
Ideal Shooting Range
The shooting range affects your accuracy. Setting up the right distance is key.
| Range Type | Distance |
|---|---|
| Short Range | 25-50 yards |
| Medium Range | 50-100 yards |
| Long Range | 100-200 yards |
Start with a short range to easily adjust your scope. Progress to medium and long ranges as you get more comfortable.
- Choose a clear, open area: Ensure there are no obstacles between you and the target.
- Use a stable rest: A stable shooting platform or bipod helps maintain accuracy.
- Mark your distances: Use range markers to set clear distances for shooting.
By following these guidelines, you’ll create an optimal shooting environment for your night vision scope.
Mounting The Night Vision Scope
Mounting your night vision scope is an essential step in ensuring accuracy. A secure and stable mount provides a solid foundation for sighting in. This section will guide you through proper mounting techniques and ensuring stability and alignment.
Proper Mounting Techniques
First, make sure your firearm is unloaded. Safety is paramount. Use a quality mount that fits your night vision scope and rifle. Follow these steps:
- Place the mount on the rifle’s rail system.
- Align the mount with the rail slots.
- Tighten the screws evenly to avoid misalignment.
Use a torque wrench for precise tightening. This prevents over-tightening, which can damage the mount or scope.
Ensuring Stability And Alignment
Ensuring stability and alignment is crucial for accurate shooting. Here’s how:
- Check the scope’s position. It should be level with the rifle.
- Use a bubble level to confirm alignment.
- Tighten the screws in a crisscross pattern for even pressure.
A stable and aligned scope improves your accuracy. Consistency in mounting ensures repeatable results.
| Step | Action | Tool |
|---|---|---|
| 1 | Unloading the firearm | None |
| 2 | Placing the mount | Mount |
| 3 | Aligning the mount | None |
| 4 | Tightening the screws | Torque wrench |
Following these steps ensures your night vision scope is securely mounted. This sets you up for accurate shooting. A well-mounted scope is the first step to successful sighting in.
Initial Zeroing Process
The initial zeroing process is crucial for sighting in a night vision scope. It ensures accuracy in low-light conditions. This step-by-step guide will help you through this process. Let’s get started.
Establishing A Baseline
First, mount your night vision scope securely on your rifle. Ensure it is properly aligned. A stable setup is key.
Next, place your rifle on a steady surface or use a gun rest. This minimizes movement during the process. Insert a boresighter into the barrel to create a baseline. Look through the scope and align the crosshairs with the boresighter’s laser dot.
Now, you’re ready to take your first shot. Set up a target at a known distance, typically 25 yards. Fire a shot and note where it hits. This shot establishes your initial point of impact.
Adjusting Windage And Elevation
Now, it’s time to adjust windage and elevation. Start with windage. This adjustment corrects left and right movements.
Locate the windage adjustment knob on your scope. Turn it to move the crosshairs left or right. Aim and fire another shot. Check if the point of impact is closer to the target’s center.
Next, adjust elevation. This corrects up and down movements. Find the elevation knob on your scope. Turn it to move the crosshairs up or down. Fire another shot and see the impact.
Repeat these steps until your shots consistently hit the target’s center. Your night vision scope is now zeroed in. You’re ready for accurate night-time shooting.
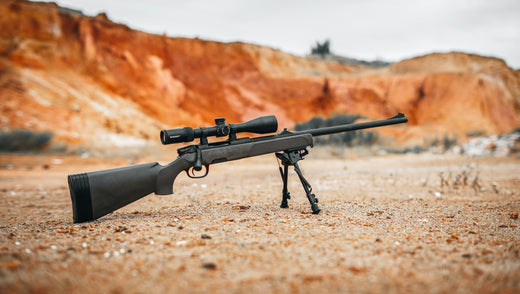
Credit: www.txfowlers.com
Fine-tuning The Scope
Once the initial sighting in process is complete, fine-tuning the scope is crucial. This step ensures your night vision scope is perfectly aligned for precision. It’s about making small adjustments to achieve the highest accuracy. This section covers the steps necessary for perfecting your scope.
Making Micro-adjustments
Micro-adjustments involve small changes to the scope’s settings. These fine changes can greatly improve your accuracy. Here is a simple table to help you understand the adjustments:
| Adjustment Type | Description |
|---|---|
| Windage | Adjusts the scope left or right |
| Elevation | Adjusts the scope up or down |
To make micro-adjustments, follow these steps:
- Identify the current point of impact.
- Turn the windage and elevation knobs slightly.
- Fire a test shot to check changes.
- Repeat until the point of impact matches the crosshairs.
Confirming Accuracy
After making adjustments, it’s important to confirm accuracy. This ensures that the scope is aligned correctly. Here’s what you need to do:
- Fire a series of shots.
- Observe the grouping of the shots.
- If the shots are grouped tightly, your scope is accurate.
- If not, make further micro-adjustments.
Use a paper target with a grid to help measure accuracy. This visual aid helps you see where adjustments are needed. Always ensure the environment is consistent. This includes lighting and target distance.
Testing Under Night Conditions
Testing under night conditions is crucial for sighting in a night vision scope. This process ensures that your scope performs optimally in real-world scenarios. Proper testing can help you accurately assess and adjust the scope for the best results. Let’s dive into the details of testing under night conditions.
Simulating Real-world Scenarios
Begin by simulating real-world scenarios. This helps in understanding how the scope functions in actual conditions. Set up targets at varying distances. Use a mix of static and moving targets. Ensure your environment mimics the conditions you will encounter.
- Set targets at 50, 100, and 200 yards.
- Include both static and moving targets.
- Use obstacles to create a realistic environment.
Simulating real-world scenarios allows you to gauge the scope’s performance. It provides insights into adjustments needed for optimal accuracy.
Evaluating Performance
Evaluating performance is a key step in sighting your night vision scope. Start by observing the clarity and brightness of the image. Adjust the focus until the image is sharp and clear. Check for any distortions or blurriness.
- Observe image clarity and brightness.
- Adjust focus for sharpness.
- Check for distortions.
Next, test the scope’s accuracy. Aim at the targets you set up earlier. Take note of where the shots land. Adjust the windage and elevation settings as necessary. Repeat the process until the shots consistently hit the target.
Lastly, ensure the scope holds zero. This means it maintains accuracy after firing multiple shots. Fire a series of shots and check if the point of impact shifts. If it does, make further adjustments.
| Test | Action |
|---|---|
| Image Clarity | Adjust focus |
| Accuracy | Adjust windage/elevation |
| Zero Hold | Check point of impact |
Evaluating performance ensures your night vision scope is reliable. It helps in making necessary adjustments for consistent accuracy.

Credit: www.youtube.com
Maintenance And Care
Maintaining your night vision scope is essential for its longevity and performance. Proper maintenance ensures that your scope functions correctly when you need it most. Here’s a guide on how to care for your night vision scope.
Cleaning The Scope
Regular cleaning keeps your night vision scope in top condition. Use a soft brush to remove dust and dirt from the lens. A lens cleaning solution and microfiber cloth can help remove smudges. Be gentle to avoid scratching the lens.
Clean the body of the scope with a soft, damp cloth. Avoid harsh chemicals that may damage the coating. Pay attention to the eyepiece and other small parts, as dirt can accumulate there.
Storing Properly
Proper storage is crucial for maintaining your night vision scope. Store the scope in a cool, dry place to prevent moisture damage. Use a protective case to avoid dust and physical damage.
Remove the batteries if you won’t use the scope for a while. This prevents battery leakage, which can damage internal components.
| Dos | Don’ts |
|---|---|
| Use a soft brush for cleaning | Use abrasive materials |
| Store in a cool, dry place | Expose to extreme temperatures |
| Use a protective case | Leave batteries inside for long periods |
Following these maintenance tips will ensure your night vision scope remains reliable and effective for years to come.
Frequently Asked Questions
What Is The Best Distance To Sight In A Night Vision Scope?
The best distance to sight in a night vision scope is typically 100 yards. This provides a good balance for accuracy. Adjust accordingly based on your specific needs and environment.
How Do You Zero A Night Vision Scope?
To zero a night vision scope, mount it securely, shoot a group, adjust windage and elevation, and repeat. Ensure consistent lighting conditions.
Can Night Vision Scopes Be Used In Daylight?
Most night vision scopes should not be used in daylight. They are designed for low-light conditions and can be damaged by bright light.
What Tools Are Needed To Sight In A Night Vision Scope?
You need a stable shooting platform, a target, and a suitable firearm. Additionally, a laser bore sight can be helpful for initial adjustments.
Conclusion
Mastering night vision scope sighting boosts your shooting accuracy. Follow the steps carefully. Practice regularly in safe environments. Adjust your scope as needed. Consistent practice leads to improvement. Stay patient and focused. Your dedication ensures success. Happy shooting!